This is part 4 of my 18th century stays project.
Continued from: Inserting Boning, Seaming, and Grommets
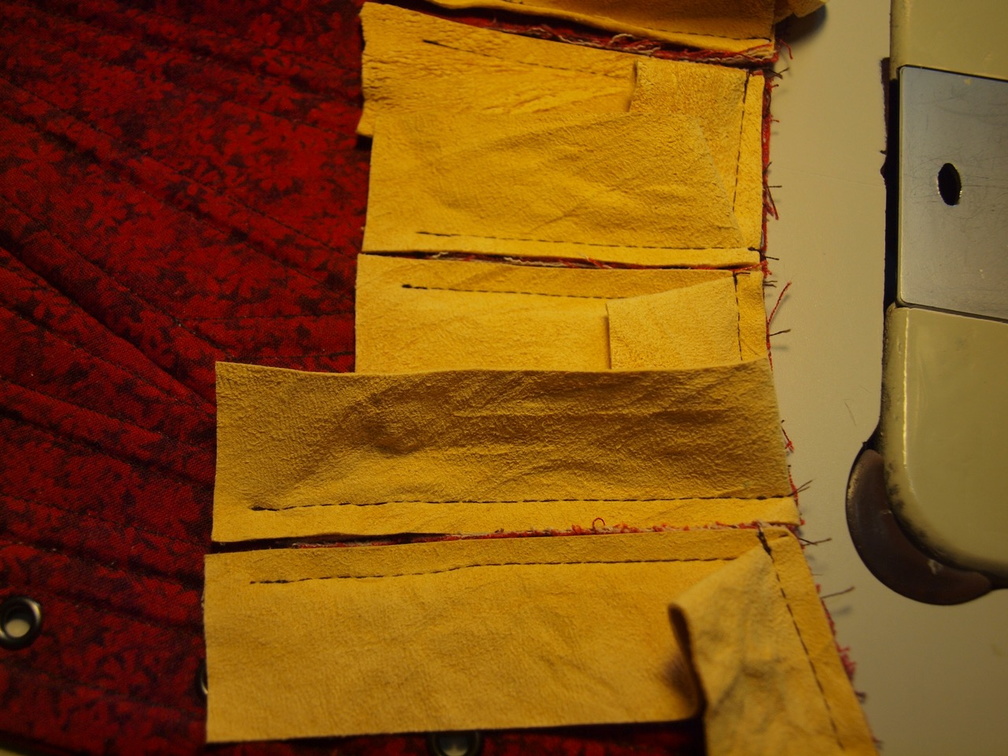
Now comes the most dreaded part of making stays. I used leather for comfort and durability reasons, and even though chamois is thin, it’s still leather. And I hate hand sewing. My fingers agree. It does have one advantage, though, which is that it has some flexibility to work around curves, much like bias tape. Leather also has no raw edges to fray.
Full disclosure: my sewing machine (a Juki DDL 8500-7) is capable of sewing right through cable ties, even the thick type, with a sharp needle. Despite its appearance, it’s actually designed for mid-weight fabrics, not heavy duty applications like leather. Your machine may not be able to do this, or it may require a bit of manual help on the wheel. Do not try to backstitch through a cable tie; every time I accidentally did, I broke a needle. So, with that precaution, try it on some scraps and see if you can. If not, you’ll need to do the whole binding process by hand or leave all the bones 1/4 inch short so they don’t extend into the binding.
Methods
So, how do we make this a less aggravating experience? Well, the answer depends on what you’re trying to accomplish. If you’re making a historical reproduction, it’s time to get acquainted with your needle, thread, and thimble. I’m not; this is for 21st century daily wear, and nobody but me should be seeing it anyway! ;-) What follows is what I learned.
The Basics
All binding techniques fulfill the same goal: completely encapsulate the raw edge of the fabric. Where the methods differ is in the specific functions of attaching that binding material and what the result looks like. My background when it comes to binding is for quilts, so that’s where I started. Turns out that the beginning of the process is the same as the historically accurate methods. So, take a look at this method first so you’ll understand what I’m starting with, especially for binding the outside corners of the tabs. Specifically, I’ve used “Attach the Binding to the Quilt” steps 3-4 of that tutorial (note that it lists step 3 twice, then skips to 5, so you can figure out what step 4 should be). I used a 1/4 inch seam allowance.
Both of the following methods use the same hand-stitched treatment for reinforcing the tab slits. I tried some methods for narrow inside corners, but they didn’t work because a) the leather was too thick, and b) the angle was way too acute (in some cases it was 0 degrees). I’ll cover that detail at the end.
Option 1: Machine with Hand Finishing
I did this on the first half. It involves using the sewing machine to attach the binding to the front side, rolling the leather over to the back side, and whipstitching the edge down. I used a heavier thread for the whipstitching for durability (Gutermann Mara 70 instead of Mara 100, which I used everywhere else).
Now, this works and looks accurate. But it’s still a ton of hand sewing leather. I won’t be doing it again, so I’m not really providing instructions.
Option 2: Fully Machined
I did this on the second half and will be doing it for any future stays I make. Instead of whip stitching the back edge down, I use the sewing machine to “stitch in the ditch,” then trim any excess. The result, from the front, looks exactly the same. The back does look different (obviously machine-stitched), but the only time that can be seen is when the stays are off the body. So, yeah, I don’t care. It’s also way faster. And my fingers were extremely grateful.
Step 1: Attach binding to front
Follow the steps in the tutorial, and your tab will look like this. For clarity, even though we’re not starting at the beginning, I’ve left the previous tab unfinished so you can see some of the details.
See the three sides of the tab, with two mitered corners? That is one piece of leather. Notice how it extends above the tab slit by 3/4 inch; you’ll use that later. Also, your stitching only starts just above the top of the tab slit because quite a few bones go right by this point and you don’t want to sew through them.
You can do all of the tabs at once, but only once you get the hang of it. Let your first be learning opportunities.
Step 2: Cut notches
This notch is even with the top of the tab slit, with the cut stopping 1/4 inch (the same as your seam allowance) from the stitching. Do this on both sides of the tab.

Here’s what it looks like with the previous tab (mostly) completed.

Step 3: Fold binding from outside to inside, stitch, and trim
Just fold the binding around, but only worry about the sides of tab. Leave the bottom end hanging out wherever it wants. Stitch in the ditch from the outside, stopping a bit short of the bottom edge binding.

The results on the inside:

Trim the binding close to the stitching.

Step 4: Bind bottom of tab
Now do the bottom pretty much like the sides, except you have to get the corners arranged to minimize bulk. It’s easiest to do this all in one process, forming the corners with your fingers and bringing the center over. Hold it in place, flip it over, and stitch in the ditch, starting on the side, turning at the corner, across the bottom, turning at the corner, and up the other side until you’ve overlapped stitches with previous stitching.


Trim excess.

Step 5: Reinforcement flap
The tab slits need some reinforcement to keep from tearing. Since we don’t have binding actually rounding the corner, this is the best I could come up with. Not perfect, but functional. This portion is done entirely by hand. I arranged the flaps to point from the center front to the center back.
At this point, you’ll have two flaps of equal size. Trim the rear flap so that it can tuck under the front flap.


Start the thread so that knot will be hidden under the flap, then whip stitch around the flap. It’s not practical to push the needle through the leather and the fabric, so work each part of the stitch separately, as shown in the photos. When you get to the flap, cut it to length.


When you’re done with the front side, here’s what it will look like.

On the back side, whip stitch across the top edges. You can probably get the needle through both the leather and the fabric.

You are now with the sewing!
Here’s what the outside and inside will look like, of one half. Note that this is the hand-finished version.


The machine finished version looks like this. From the outside, they look identical (unless you look so carefully as to see the stitching in the ditch).


The finished tabs look like this, which is much cleaner that the approach of trying to bind it without all the work of folding and turning that some folks take.

Now lace the shoulder straps.


And the final step is to lace the front and back. This is a spiral lacing pattern, which holds adjustment better than other types.


Epilogue
After she used this for a bit, we made two changes:
- Removed the shoulder straps and changed the contour of the front to remove the eyelet area.
- Replaced the upper binding with pigskin top grain leather. The chamois didn’t hold up and the zip ties started poking through, which is painful. If I make another one, all the binding will be with top grain leather.