This is part 3 of my 18th century stays project.
Continued from: Fabric and Boning Channels
Inserting Boning, Part 1
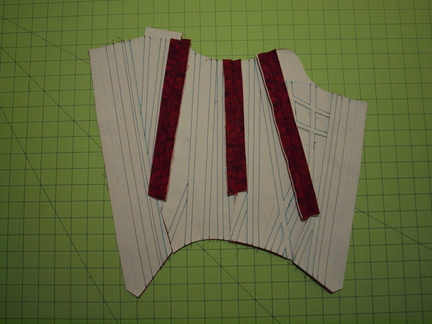
I inserting boning in two stages to make the job easier and to allow me to be more precise. The first stage is for bones which will have both ends of their channels closed off by seams, rather than binding. The only occurrences of this are the horizontal bust bones, since one end butts against a full length bone and the other against a seam.
Cutting Boning
For the 75 pound cable ties, you can just use a pair of stout and sharp scissors. For the 175 pound duct ties, you’ll probably damage your scissors, so use a pair of diagonal cutters, making sure to point the end that will be cut off into a garbage can. It will go flying at a high rate of speed. If I didn’t already wear decently large eyeglasses, I’d totally be wearing safety glasses. Seriously. Pointy plastic in the eye has never been fun for anybody.
Boning End Preparation
Once you cut it to length (with the correct angle on each end), you’ll want to slightly round the end so that it isn’t going to damage your fabric or binding. I did this in two stages. First, use scissors to slightly clip the corners, just enough to take off the point. Second, hold the end near a candle flame until the edges just start to soften and round over. This may take some practice, but it’s far easier than using sandpaper. Note: If you over-melt the plastic, it will become bubbly and brittle, which you don’t want. If that happens, get a new piece and start over. Plastic is cheap.
The final length should allow you to insert the bone into the channel and have it flush or just below flush with the end of the channel, which is defined either by the edge of the fabric or a seam allowance line. Better to err on the side of being too short rather than sticking out; a 1/16 inch isn’t going to make much of a difference if too short, but will if too long. To get this right, I fully prepare one end, insert it into the channel, mark the length with a pencil (on the smooth side, which should be facing towards the outside fabric), remove it from the channel, cut it, and prepare the second end. You’ll probably get more than one bone per cable tie since a lot of the bones are short.
Seaming and Lining
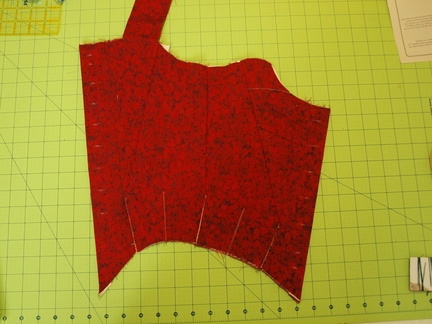
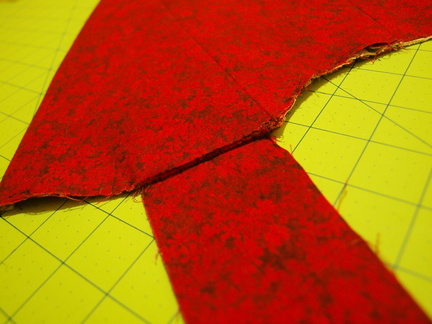
Seam the four pieces per side together and press the seam allowances open, making sure not to overheat any bones you’ve already inserted. It will look like this.
Assemble and attach the shoulder straps and lining as stated in the instructions, then turn everything to put the outside on the outside. When sewing on the front and back seam allowances, make sure to not sew the resultant channel too tight, since you’ll need to insert a 175 pound tie into that space. You can make it smaller, but larger requires taking out stitches.
When you stitch all three layers together, don’t sew over any boning channels, since you still need to insert those bones. Stitch around the cut lines for the tabs, then cut the tabs (there are two, the full length and the extension on the front-most tab.
Inserting Boning, Part 2
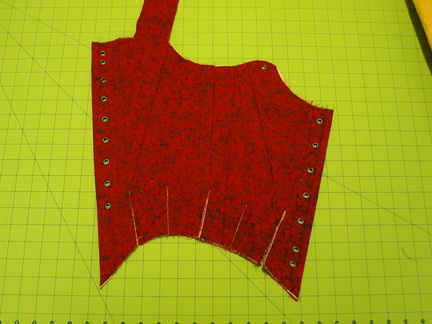
Now you can take care of the rest of the bones, using the same process as before. You’ll now look like this.
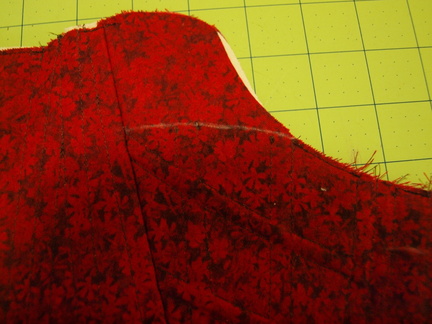
Mark and Stitch Bust Line
This line of stitching holds in the vertical bones which don’t extend all the way to the binding.
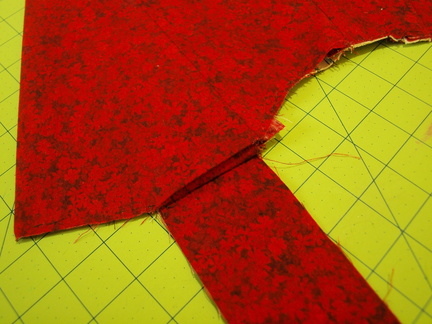
Finish Shoulder Seam
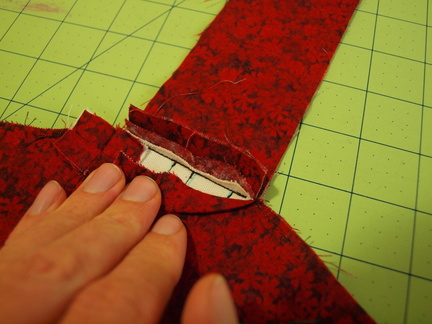
Grade the seam allowances of the shoulder strap and body to reduce bulk. Note that I’ve only done this on some of the layers, since I want the durability provided by leaving the inner layer of the shoulder intact.
Press the tab of the lining under, so that the fold is even with the stitching line that holds the strap onto the body.
Slip stitch the lining to the shoulder strap. This is hand sewing, but totally worth it to hide the stitching.
Grommets
If you haven’t already, mark the locations for your grommets. For help with this, refer to Jen Thompson’s excellent blog post on spiral lacing. I made sure there would be a horizontal top and bottom lace, with those parts also on the outside, her second method. It’s easy math. Tip: Make a few practice grommets with scraps of the fabric you used. I found that compressing the grommet until it just started to crimp, rotating 45 to 90 degrees, then finishing the crimp resulted in a much better finished product than not rotating it midway through.
Next will be binding, but let’s face it. You won’t be able to resist putting lacing in and trying it on. Go ahead, it won’t hurt anything! Just take out the lacing before moving on to binding.
Next: Binding
